

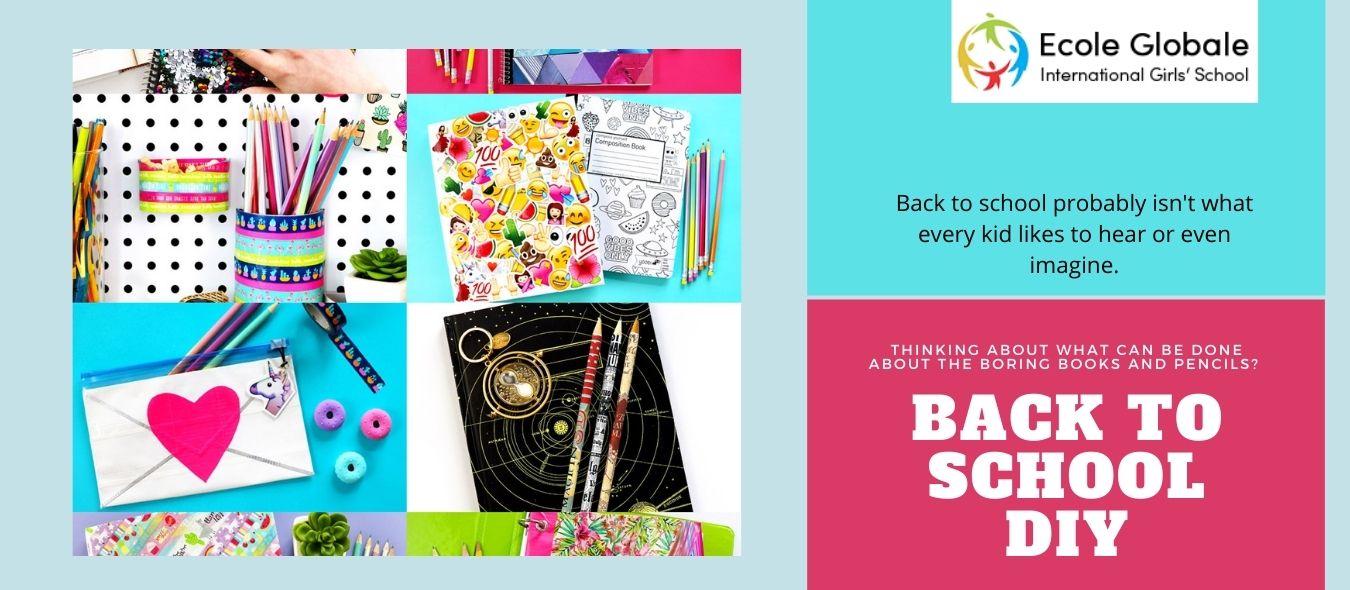
Back to school probably isn’t what every kid likes to hear or even imagine. But that’s the cycle, you complete a year, then get a vacation of approximately two months, and after the break, it’s “back to school” again, with all the notebooks and textbooks and lectures and homework.
We’ve all experienced this same school life, and we know that apart from friends and the mischiefs, the school can be quite exhausting with continuous lectures and 3-4 homework a day. There are different kinds of schools like boarding schools in India, day schools, day boarding, etc. Every kid has their best journey of school. So to sugar-coat the wearying journey of schooling, we’ve brought some quirky DIY back-to-school ideas to modify your tools and create fun out of them.
Thinking about what can be done about the boring books and pencils? Well, don’t worry, we’ve got the key to your question, keep reading. So, let’s begin.
Back to school DIY ideas
- Tin-can pencil holder – Imagine your favorite cold-drink can as your pencil holder. Looks good? Well, you can make it quickly. Just follow the steps.
- Precisely cut a user can at 75% of its height. Suppose your can’s height is 10cm, then cut it to 7.5 cm. You can increase the ratio if your can is below 10cm.
- Then use a hot vessel holder or a similar kind of holding tool to fold the trimmed edge of the can inside by half-inch. This step is necessary to ensure that the can’s edge doesn’t scratch your hand.
- Now take a bowl and put two teaspoons of water and the same amount of glue in it, then mix it. The glue and water mixture ratio is 1:1.
- Now take a used paper, it could be a newspaper too. Tear it into pieces and dip them into the bowl. Then pick up the wet pieces of paper, and start sticking them to the can (the pieces can overlap each other), occasionally take a paint-brush and apply the glue-water mixture over the overlapped pieces of paper.
- In this way, cover the whole circumference of the can, then let it dry for around 4-5 hours.
- Check after 4-5 hours. If it’s still wet, leave it alone. And if dried, then you can paint all over it, making designs of your choice. And voila! Your tin-can pencil holder is ready!
- Paper bowl (for your chocolates) – This one is also like our pencil holder. It’s for your study desk. This is a paper bowl for keeping all your wrapped chocolates in it.
- First, take a balloon and inflate it. Remember, the lower part of the balloon will form the structure of your bowl, so inflate the balloon accordingly, don’t let the lower part of the balloon become too shallow and wide. Then, of course, tie the balloon.
- Now, after you’ve inflated the balloon, keeping its lower part similar to the shape of the bowl you want to make. What you need to do is, take a smooth marker and draw an outline over the balloon’s circumference. Remember, you’ll just be drawing the upper edge of your bowl over the balloon.
- After drawing the single outline, do the same process of sticking pieces of paper with the water-glue mixture over the balloon (inside your outline). Then let it dry completely.
- After dried, you need to carefully deflate the balloon by opening its tie. After completely deflating, slowly and carefully remove the balloon from the paper structure. It might still be stuck to it at some places with the glue.
- After you remove the balloon, you’ll have a complete paper bowl in front of you. Now just paint it as you desire, let the paints dry, then fill it with some chocolates, and there you go!
- Customized book cover – You do remember buying a roll of book-cover and covering all your new books before school starts. This one is the same, but you’ll have your own-made designer book cover for your books. It’ll be like new clothes for new books!
- To begin, take a cardboard paper of any color you want your book cover to be off. Keep the book over the flat paper and check its size. Make sure the paper is at least 1.5 cm big than the book from all four sides.
- After measuring, flip the paper and fill it with your designs all over. You can use a marker, paints, pencil to draw.
- After done with the designing, flip it and cover your book with it (which you already know how to do). And hurrah! You just got your book customized.
- Abstract pencil – Abstract pencil is a pencil of your own colors. It’ll have a unique texture of colors.
- Take your pencils and do the same paper sticking process you did to the balloon and the can. Cover all your pencils with glue and paper. Don’t worry about its shape because its weird and rough shape (surface) will make it extremely attractive.
- After all the pencils are dried, take a dish of normal size. Now gather your watercolors (colors you want to paint in).
- Let’s assume we’re using four different colors; you can use more or less.
- What you’ll do is, using a dripper, pick color 1 through it and drop it over the dish. Then do the same with colors 2, 3, and 4. Drop the four colors side-by-side with 0.5cm of the gap between them.
- Now take a thin paint-brush, or you can also use the tip of another pencil. Just dip it onto the 1st drop of color, and in a flow, mix it with all the other drops, thereby making a unique texture of colors. (Make sure to repeat the four different-colored drops side-by-side till or more than the length of the pencil.)
- Now take a dried pencil, and just roll it over the paint carefully, and again leave it for drying over a hard net or something similar, but not a flat surface. After drying with the paint, you’ll get a unique textured pencil!
- Paper bookmarks – The most simple to make, let’s hop onto the steps.
- Take cardboard paper of colors of your choice. Cut them into bookmark shapes using a cutter.
- Then decorate it with paint dots or textures or lines or even glitter. That’s it! Your paper bookmark is ready.
- Paper emoji – another very simple idea.
- Take cardboard, and cut it into round shapes with a diameter of 5-6cm.
- Then draw your desired emoji with a pencil or perhaps a marker over the cardboard.
- After drawing, color it according to your outline. You can go for yellow since emojis are mostly yellow in color. But you can also follow your own taste. Blue or orange emojis can be lovely too!
- Then take a double-sided tape and stick it at the back of the emoji, and voila again! You can then stick the emoji to your bag or anywhere in your room.
So that’s all the quirky and easy DIYs we had for you to add some texture to your school tools. Quickly try them and make your friends do it too! Hence making your group kinda unique with those attractive tools. But always remember one thing, while using any kind of holding tool, cutter, glue, and any pointed material, always take the help of your parents. Good luck and lots of love to everyone for your schools.

